
Royal LePage Team Realty presents a fall maintenance checklist. Included are:
- Inspect your gutters and downspouts
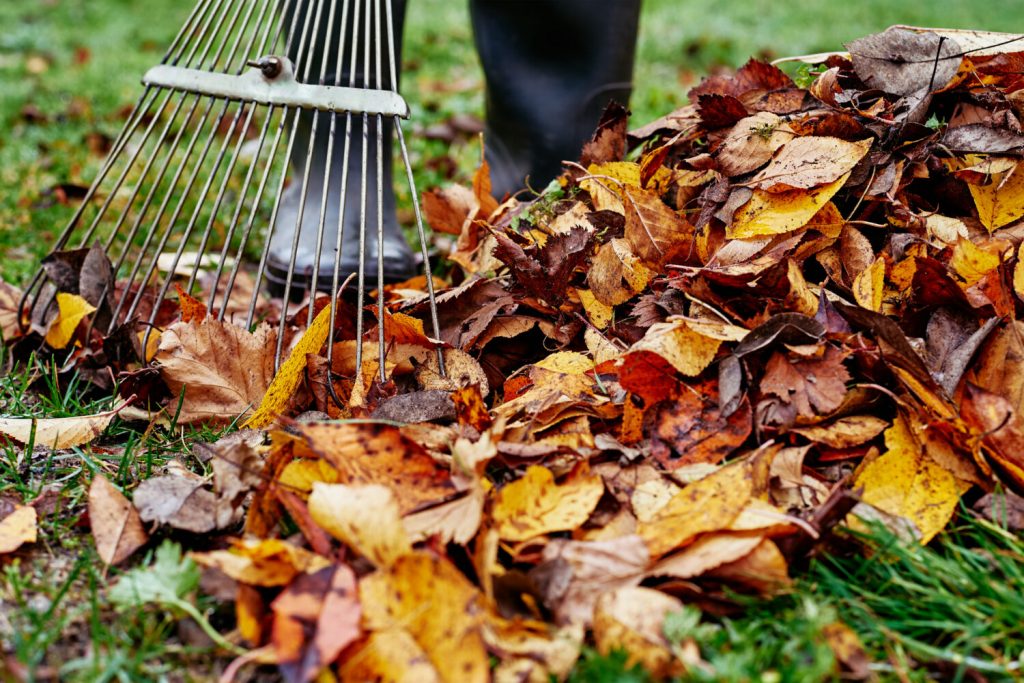
- Rake leaves regularly
- Fertilize, dethatch, and aerate
- Trim any overgrown branches
The Molly & Claude Team Realtors Ottawa, Royal LePageTeam Realty


As much as we all love Canada’s hottest season, summer also means one thing—bugs. From mosquitoes and cluster flies to earwigs, insects are the unpleasant reality we suffer each year. While it may be impossible to avoid their presence altogether, especially in rural areas, here are 11 ways to deter them and even reduce their populations so you can spend more time enjoying your yard.

Maintaining a well-groomed yard is one way to discourage unwanted denizens. Keeping your lawn, gardens, shrubs and hedges trim and tidy reduces places for harbouring insects, while also supporting your yard’s curb appeal.

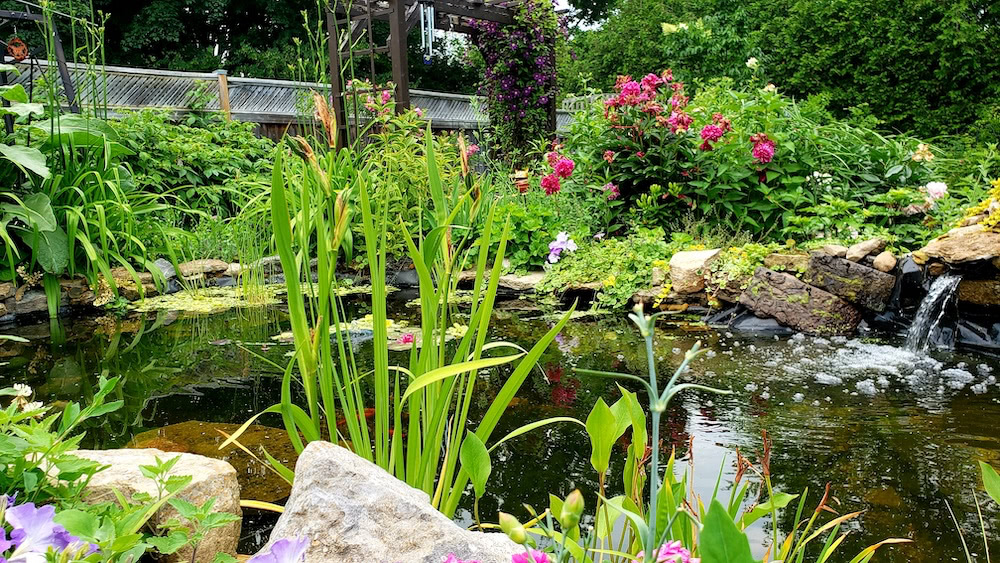
Removing standing water from your yard is a must as it attracts all sorts of unsavoury guests. The moisture entices earwigs and slugs, while mosquitoes seek it out to lay their eggs. A single female mosquito lays between 100 and 400 eggs at a time, in as little as 1 tbsp of standing water.
Ensure flower pots are stored upside down and out of the elements while fully changing birdbath water at least twice each week. If you have any low dips in your yard where water collects and sits after substantial rain, consider filling these in.
Blocked gutters are also prime spots for water accumulation. If you performed your pre-winter maintenance, your eavestroughs and gutters should be clear, but now’s the time to double-check, and clean them out if needed.

Surrounding your deck or patio with citronella candles or torches discourages biting insects because the smoke confuses their senses, making it difficult for them to smell humans. While their flickering lights add to the relaxing atmosphere of your space, the effective range for a single candle or torch is approximately two metres (six feet), so keep this in mind when determining placements.
Never leave an open flame unsupervised when using candles or torches on dry or windy days.

If you store your garbage and compost bins outside, be sure they are always kept tightly closed, and away from your patio to discourage earwigs and flies. Blow flies (also called cluster flies or blue/green bottle flies), most common in Eastern Canada, require only a tiny opening to lay their eggs, and can quickly become a nuisance during summer.

If you live within 500 metres of a water source, installing a bat box is one way to reduce insect populations. A single bat can catch hundreds of insects in just one hour, and not only eat mosquitoes but can also protect gardens from pests. The Canadian Wildlife Federation has excellent resources regarding bat house installations, plus step-by-step instructions on how to build your own!

While some individuals are naturally green-thumbed, the benefit of keeping insect-repellent plants in your yard is certainly enough reason for anyone to attempt gardening. There are many plants with insect-repelling qualities like lemongrass, marigolds, lavender, and catnip to name a few. Placing plants near seating areas or yard and garden borders will help reduce incursions while beautifying your space. Be wary of citrosa geraniums (a.k.a. mosquito plants), because a 1996 study determined they’re not effective repellents.
Tip: Rub lemongrass vigorously between your hands then apply the scent to your clothing and limbs to act as a natural repellent, if you prefer to avoid DEET-containing products.

Because mosquitoes are scarce on windy days, it only makes sense to install outdoor fans on your patio or deck area to deter them. The strong breeze created by the fans not only pushes mosquitoes away, they will help keep you cooler during those dog days of summer.

If your home has a dark exterior, it’s advisable to paint it a lighter colour. The two main factors that attract biting insects are heat and carbon dioxide. Because darker colours absorb light energy, they radiate heat which attracts more insects, meaning a lighter paint-job will help discourage these blood-thirsty pests.

Since varying spectrums of light attract insects differently, it’s important to ensure you’ve selected the best light colour—especially if you spend a lot of time outdoors at dusk and after sundown. Biting insects are attracted to nearly all light spectrums—sorry folks!—but they’re least attracted to lights nearest the red spectrum. That’s why yellow lights are your best choice during bug season.

Two other methods to reduce biting bugs in your yard are bug zappers and propane-powered traps. Hanging a bug zapper near your seating area will attract and kill biting insects with a single snap. Propane mosquito traps have become quite popular in recent years, especially in rural areas, because they lure mosquitoes from a wide area into a chamber where they dehydrate and die. Both of these tools can be purchased from most local hardware retailers.
Many homeowners incorporate decorative ponds into their landscaping or collect water using rain barrels for their gardens. In these cases, it’s a good idea to consider using larvicide tablets (also called mosquito pellets or dunks). They contain bacteria that are only harmful to mosquito larvae and are effective at destroying them before they reach adult stage.
Did you know? Some municipalities like Kanata, Ontario and Winnipeg, Manitoba, have mosquito control programs in place to reduce populations throughout the season. If this is something you desire for a prospective neighbourhood, your REALTOR® will be knowledgeable regarding local pest control programs.

While employing these methods may not mean the complete eradication of unwanted insects around your home, they will provide some relief during bug season so you can spend your time appreciating the great outdoors, rather than running for the house.
Looking for more backyard projects this season? Check out some fun DIY projects, or perhaps backyard beekeeping could be the next hobby on your horizon.
Cover photo courtesy of Randy Fath.